
Putting these panels on the roof is no modest task.

They're not particularly efficient but very robust with a long service life. The only way to get these panels today is to buy them from retailers who bought up big lots of them when Uni-Solar went under. Installing these panels is a bit bittersweet for me as my father absolutely loved the technology and the company. He would have loved to have had an opportunity to have some of these panels but his health failed so quickly he has no opportunity. In his last days I ordered the panels and discussed my plans for them with him, it was wonderful for him.

Then you can find the electrical connections in the cut ends, solder wires on and reconnect the severed piece. Neat yes, simple, well mostly. Thankfully others have led the way and done this before me and documented their technique on the web. As it always seems to be my experience was somewhat different and I did it slightly differently.
 Cutting the panels were relatively straightforward, the panels are several layers of plastic with copper strips down the edges to carry the juice between the cells.. By cutting back the peel off film and exposing the butyl adhesive I was able to scrape it away and see the copper strips buried in the clear plastic. At first I began digging at the plastic to expose the copper as the others had done before me but I soon found it really difficult to do it neatly. I soon found that I could use my soldering iron to melt the plastic and cut a neat trough right down to the copper. This worked very well and very quickly. I was able to tin the exposed copper with solder very well. On one side there is a diode so you have to be careful, but on the whole it was pretty easy. Then it's simply a matter of soldering on wires long enough to connect the panels on the roof. There are a total of four connections to make so I used Rubber SJOW 4 conductor cable. Lovely stuff.
Getting these panels on the roof, aligned properly and stuck down was a nightmare. Working alone made it nearly impossible to remove the protective backing and start the panels aligned properly. Somehow it all came together well and straight. No bloody fun though.
After wiring it all up and connecting to the batteries I was glad to see the exact same current I was getting before the surgery.
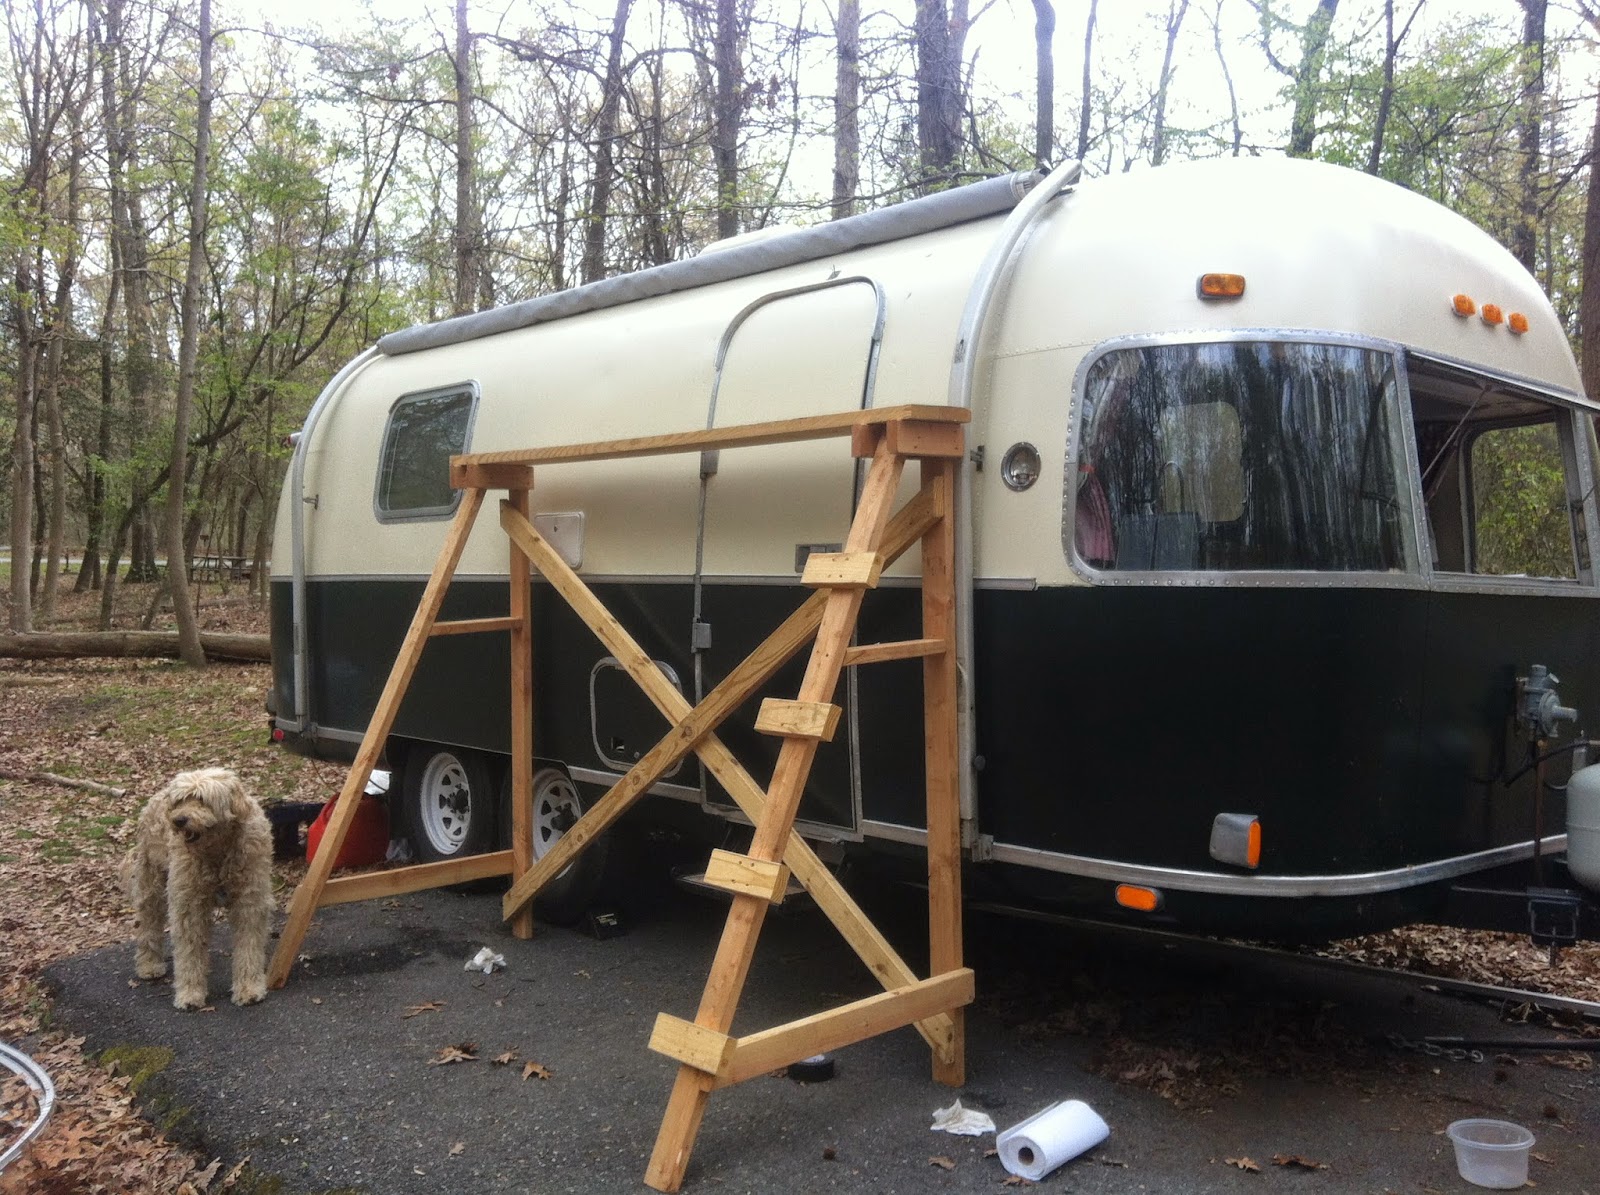 All in all a great project and I love that the panels lie flat against the roof, from the ground you can't even tell they're there.
Now I can finally cut up and burn the wooden staging I've been carting around since New Orleans!
Technical yes, but interesting nonetheless. Hope that wooden staging made a good bonfire.
ReplyDeleteHey Peter! I enjoyed this post even as a non-technical person. Keep on writing, I really appreciate reading you. Be well.
ReplyDelete